Make your own homemade word magnets to express yourself on your fridge or favorite magnetic chalkboard. It’s easier than you might think!
Did everyone have a wonderful Christmas? Hopefully you had a better time than I did, as I played the role of a snotty boomerang. You see there has been some illness spreading around lately that I thought I managed to avoid. But while cooking dinner on Christmas Eve, the night before I planned to head up to Rochester, I started sneezing a lot and by the end of the night was stuffing tissue up my nose (so hot).But still I set my alarm to depart early the next morning. Upon waking I realized my health had not improved (hence snotty) but told myself I just had to get to Columbus (6 hours away) where I would then carpool the remainder of the trip (another 6 hours). In the end I managed to get a little over 2 hours out before turning right back around and promptly falling into bed again (hence boomerang). I got the flu for Christmas and at the rate I’m going I’m not sure when or if I will make it up to Rochester before the big move to Columbus. Evidently Santa thought I was so bad that he gave me the flu instead of coal.

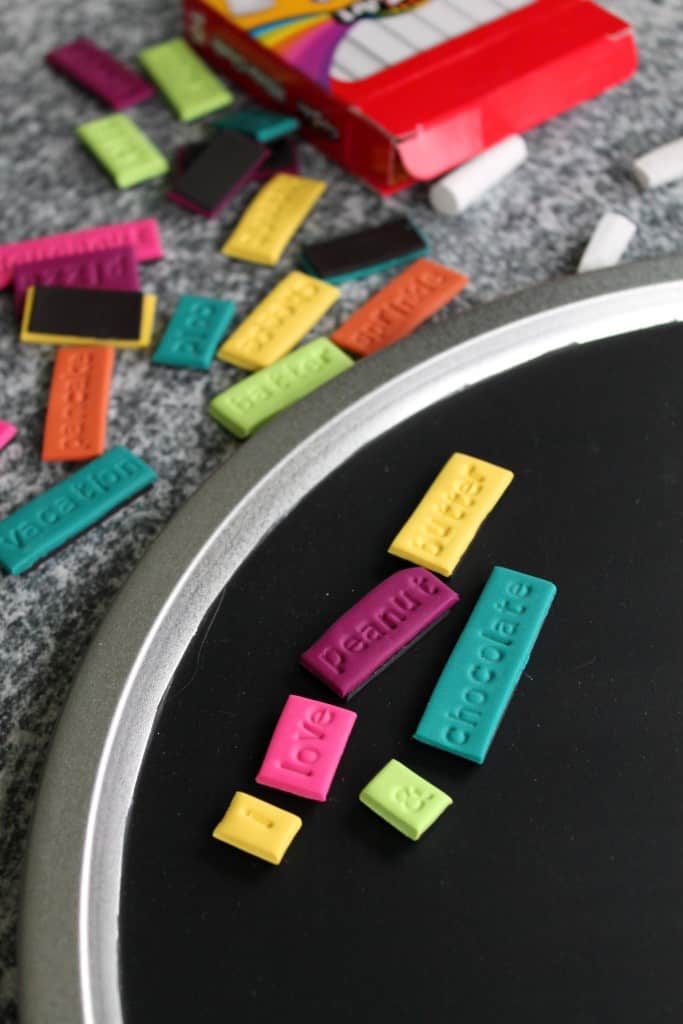
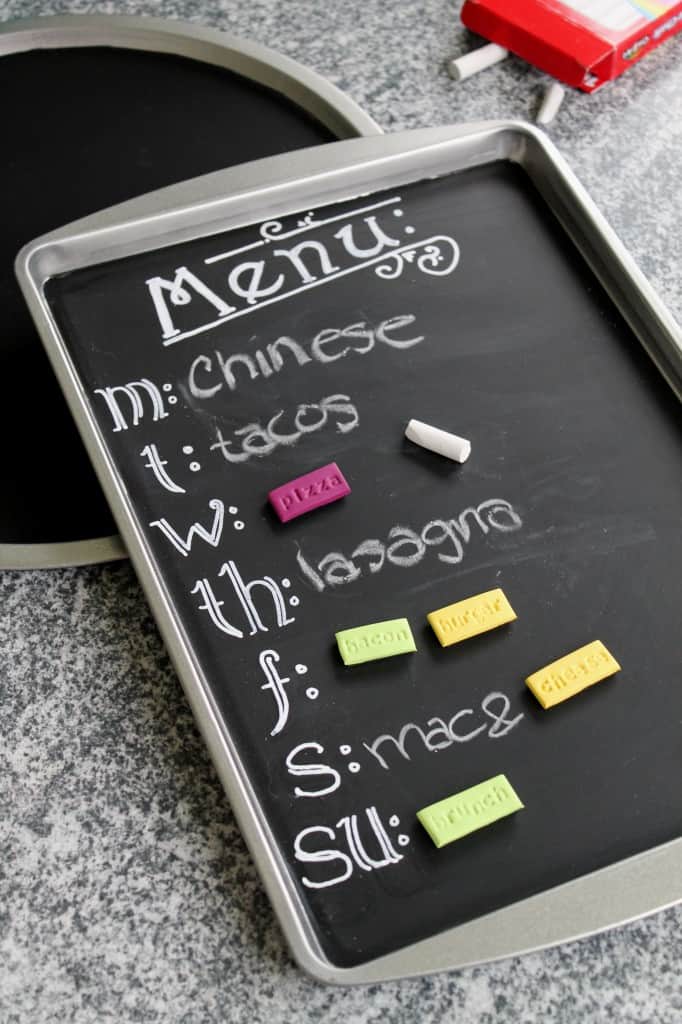
But I digress. Let’s talk about these word magnets (which would look great with your DIY cookie sheet chalkboard) and how they are easy, yet tedious, to make. To make these I used several different colors of polymer clay (I bought a pack from JoAnn Fabrics but later discovered it’s cheaper at Walmart), ~1/2-inch wide magnetic tape, ~1/4-inch alphabet stamps, rolling pin, craft blade (I used a pizza cutter instead), scissors, cookie sheet, and parchment paper or a silicone baking mat.
- Preheat oven to 275 degrees F. Line a baking sheet with parchment paper or silicone baking mat, set aside.
- Warm the clay in your hands, flattening out. Place parchment paper on work surface and roll clay out to 1/8-inch thickness. Using the magnetic tape as a guide, cut out strips of clay.
- Stamp words into the clay, cutting between each word as you go.
- Arrange in a single layer on prepared baking sheet then bake for 15 minutes or until hardened. Allow to cool completely.
- Once cooled, cut magnetic tape to fit the size of each piece of clay and attach to the back.
(Check out A Beautiful Mess for step-by-step directions.)
Sounds easy right? And it is but stamping out every word, one letter at a time, is quite tedious. Other than time, the only trouble I ran into was the magnets curling at the edges due to being rolled up on itself when stored. I tried to flatten it out between heavy books before adhering to the clay, but if that didn’t work I used tiny dots of super glue and then pressed the completed word magnets between heavy books.
Source: A Beautiful Mess
One year ago: Homemade Cinnamon Hot Chocolate Mix
Three years ago: Salted Caramel Hot Chocolate Mix
Four years ago: Bacon and Cheese Egg McMuffin Cups

4 comments
[…] DIY Word Magnets would be super fun and easy to create with polymer […]
[…] 5. WORD MAGNETS […]
[…] 17. DIY Word Magnets […]
fun!!